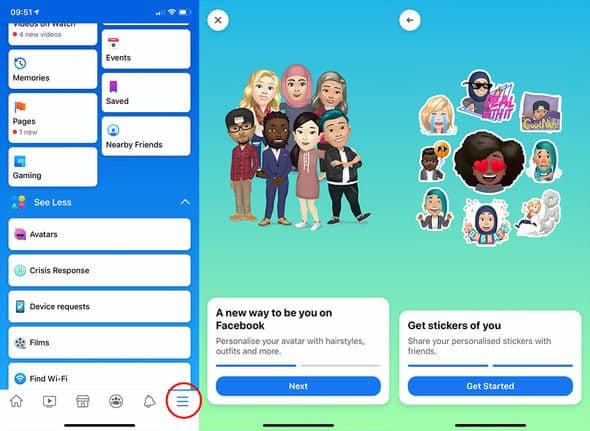
Facebook, launched in 2004, is one of the most popular online social media platforms. It’s favored by many because it offers some of the best features. Recently, the company rolled out a new feature, called Facebook Avatar, for its users across the world. As far as avatar is concerned, you can create your own and utilize it as a profile picture. Interestingly, you can also customize your Facebook avatar to look like you, and have the same hairstyle as you. Furthermore, you’ll be able to utilize the avatar as custom stickers, which you can use while commenting on Facebook posts. You can also share them on other social media platforms, including Twitter and Instagram. In case you’re wondering how to make your own Facebook avatar, you might have to stop worrying about it. That’s because we’ll be sharing with you, in this post, everything you need to know about it.
To make your preferred Facebook avatar, you need to follow the step by step guides below.
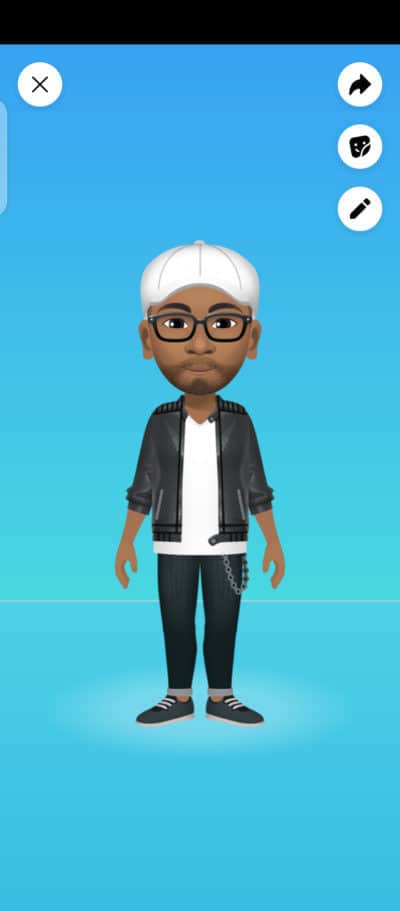
That’s all you need to make your own Facebook avatar. Now, tap on the “Done” option at the top right corner of the screen to save your avatar. In case you followed the above-listed steps, you’ll have something similar to the image below.
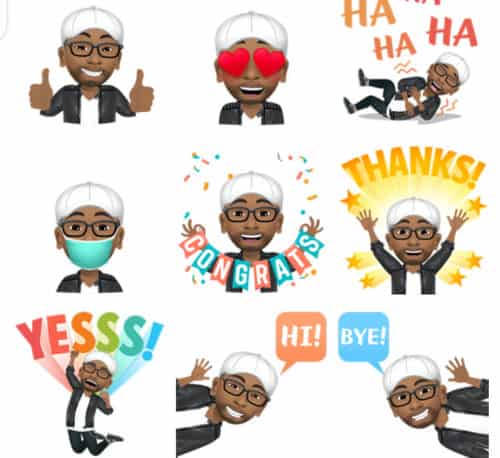
Having created your Facebook avatar, what is next is to start using it. Well, you’ll be able to use the avatar in several ways. First, you can make use of it in the comment section, to express your thoughts. You’ll be able to do that by tapping on the comment button and then selecting from the available custom stickers.
Furthermore, you’ll also be able to use your Facebook avatar in the Messenger chat. You can do that by tapping on the emoji button in the chat bar. From there, you’ll have to tap on the sticker menu and swipe right to access the available stickers for the avatar.