Unarguably, there are several software-related factors that contribute to Wi-Fi issues. Some of them include corrupt network, incorrect settings, and firmware crashes. Looking online, we’ve seen several iPhone 11 users complaining about the issue of the Wi-Fi signal. In case you’re one of them, you might have to stop worrying too much about it. That’s because we’ve come with a few fixes for the issue.
In this article, we’ll be showing you a few fixes for your iPhone 11 Wi-Fi signal issues.
Causes Of The iPhone 11 Wi-Fi Signal Issue
As stated earlier, several factors can cause the Wi-Fi signal issue on your iPhone 11 device. Let’s have a look at some of them below:
- Firmware Crashes
One of the factors that contribute to the dropping of the Wi-Fi signal on your iPhone 11 devices is firmware issues. In many cases, when you encounter firmware crashes, it tends to affect the performance of your device, including its Wi-Fi signal.
- Corrupt Network
Apart from the firmware issue, another factor that can cause your iPhone 11 Wi-Fi signal to drop is a corrupt network. Most users encounter this issue regularly.
- Network Devices
At times, when your network device, including modem and router, is left online for a long time, they tend to cause your Wi-Fi signal to misbehave. Well, you can always fix this issue on your own, without having to visit a phone repairer.
How To Fix Wi-Fi Issues
In case you are experiencing a Wi-Fi signal issue on your iPhone 11 device, you might have to try the fixes below. Hopefully, one should be able to help you fix the problem in no time.
1- Reboot Your iPhone 11 & Power-Cycle The Network Device
The first solution, which actually works for most issues, is to restart your iPhone 11 device. However, before doing that you need to ensure that your network equipment, like modem and wireless router, is power cycled. How do you do that?
- Flip the power switch of the network equipment, to turn it off.
- After that, unplug its AC adapter from the power source and leave it for about a minute.
- After that, plug it back again and switch it on.
- Sometimes, you might need to reboot your iPhone 11 to help you fix the Wi-Fi signal issue.
I’m sure you know how to reboot your device. However, in case you are not sure how to do it, check the steps below:
- At the same time, press and hold the Side and Volume up buttons for a few seconds.
- By doing that, a Slide to Power Off bar will appear on your screen.
- Swipe the bar in the appropriate direction to help you reboot your device.
After successfully rebooting both the network equipment and connected device, wait for the iPhone 11 to re-establish Wi-Fi connection, to see if the signal issue is no longer there.
2- Reset Your iPhone 11 Network Settings
One of the fixes that you can also consider when you’re experiencing a Wi-Fi signal issue on your iPhone 11 is to reset the network settings.
Doing just that will help to delete all your current network settings. That includes the invalid configuration, causing the Wi-Fi signal issue to persist on your iPhone 11. Let’s have a quick look at how you can reset your network settings below:
- Go to your Settings app.
- Choose General, then scroll down to the bottom of the page and tap Reset.
- After that, tap on Reset Network Settings.
- You’ll be prompted to enter your device passcode.
- After doing that, tap the Reset Network Settings again to confirm the action.
That should automatically restart your iPhone 11 device. After that, it’ll help you load the default network options and values.
3- Switch On And Off Your Wi-Fi Feature
To fix your iPhone 11 Wi-Fi signal issue, you might have to reset your network settings. That should help to remove all errors causing your wireless system to misbehave. Here’s how you can go about doing that:
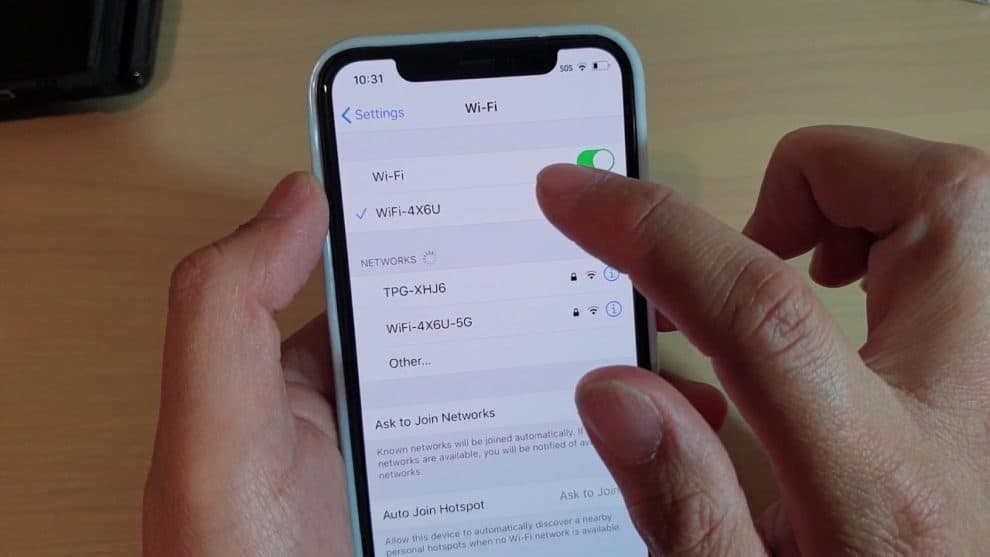
- Go to your Settings app, then tap Wi-Fi.
- Switch off the Wi-Fi feature by toggling the option in the appropriate direction.
- Wait for a few seconds, then switch it back on.
That should be able to help your iPhone 11 device to re-establish connection with the preferred network.
Did that help to fix your iPhone 11 Wi-Fi signal issue? If not, you should try the fixes below.
4- Forget Wi-Fi Network
At times, when a particular network is connected for a long time, it becomes corrupt. However, you need not worry too much about it, as it’s just a minor issue. In that case, all you need to do is to forget the Wi-Fi network so as to reconnect back to it. Here’s how you can go about doing that:
- Go to your Settings app, tap the Wi-Fi menu, and ensure the feature is enabled.
- After that, scroll down to the list of available networks. Then, select your network.
- Next to the name of your Wi-Fi network, you’ll see the information icon, tap on it.
- Also, tap the Forget Network option. Then, confirm the action to help you forget the network.
You might also want to repeat the steps for other Wi-Fi networks on the list. That’s to ensure that your device doesn’t automatically connect to another unsecured network.
5- Factory Reset Your device
After trying the above fixes, and you still experience the Wi-Fi signal issue on your iPhone, you might have to factory reset it. That, you can do by following the steps below:
- Go to your device’s Settings app.
- Select General, and scroll down to the bottom of the page, then tap on Reset.
- After that, you need to choose the Erase All Content and Settings option.
- A message will appear, tap the Erase iPhone to continue.
- Enter your passcode, then tap the Erase iPhone option twice, to confirm the action.
That’ll help to wipe off stored contents, restoring your device back to its default settings.
6- DFU Restore Your Device
In case all efforts to fix the Wi-Fi signal issue for your iPhone 11 proved abortive, you might have to connect your device to your PC, and restore it. However, this step is a little bit complicated. So, I’ll advise that you take it to an expert to fix the issue for you.
In case you want to give it a try on your own, here’s what you can do:
- Connect your iPhone 11 to your PC, then launch iTunes.
- On connecting your device, quickly press and release the Volume Up button, immediately.
- Similarly, do that for the Volume Down button.
- After that, press and hold the Side button until your screen display change to black.
- While still holding the Side bottom, press the Volume Down bottom as well for 5 seconds.
- After that, release the Side button, but continue to hold the Volume Down button for another 10 seconds.
- After that, your phone will enter the DFU mode, where you can cancel or restore update from a popup window.
- Then, click Restore, and confirm the action.
If the issue persists after doing that, you might have to book an appointment with a phone expert.
Add Comment