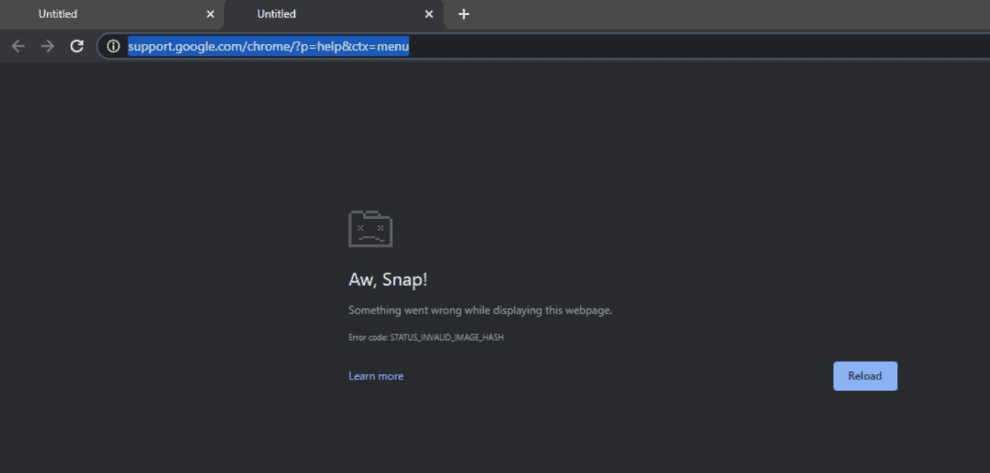
Those “Aw Snap!” error messages in the Google Chrome browser could be insanely annoying. They don’t provide clear details about what’s causing the error. So, users take the usual approach of refreshing the page again and again. Google Chrome Version 81.0.4044.92 is causing the Aw Snap! STATUS_INVALID_IMAGE_HASH error. Let’s check out how you can fix it.
Have you encountered the Aw Snap! STATUS_INVALID_IMAGE_HASH error?
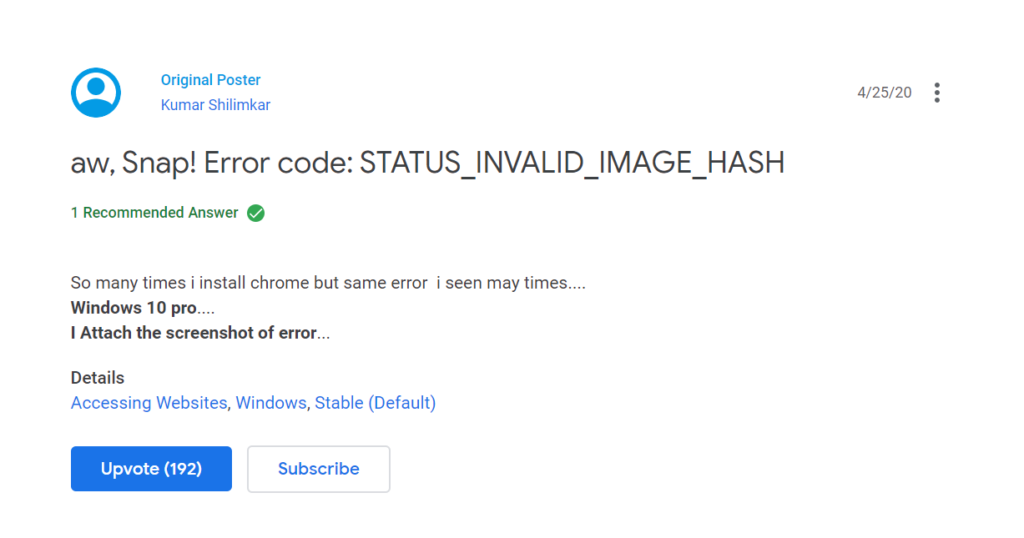
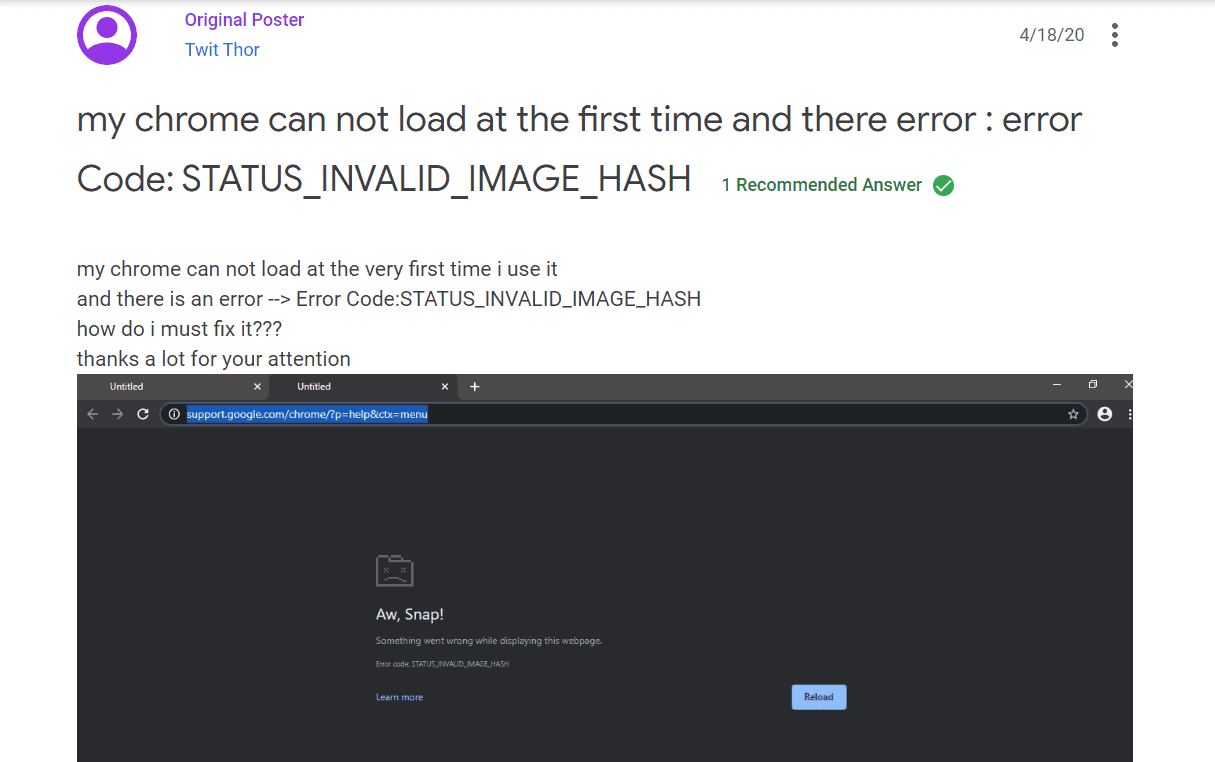
Chrome is by far the world’s most popular web browser. A lot of users have taken to the Google Chrome Help Community to complain about the Aw Snap! STATUS_INVALID_IMAGE_HASH error. It happens when they try to open a new website. Some frustrated users tried uninstalling and then reinstalling the Chrome browser, hoping it would fix the problem. But it didn’t for most people.
Google hasn’t acknowledged the issue. It’s not even clear whether the bug lies in the Chrome browser itself or in the Windows 10 operating system. Mac or Linux users haven’t reported the Aw Snap! STATUS_INVALID_IMAGE_HASH error.
Google’s usual recommendation to fix any ‘Aw Snap!’ error is checking the Internet connection, reloading the page, clearing the cache, closing other tabs, updating Chrome, and restarting the computer. But they don’t work for most users.
Fortunately, some experts in the Google Chrome Help Community have offered unique fixes that appear to have worked for most of the affected users. Let’s look at their solutions and how you can fix the Aw Snap! STATUS_INVALID_IMAGE_HASH error.
First solution
This one comes from Patrick DeGraba. Here’s how to go about it:
- Right click on the Policies folder and select New and then Key. Name the new folder as Google
- Right click on the Google folder you just created, select New and then Key. Now name the resulting folder Chrome
- Next, right click Chrome and select New, then select New DWORD 32 bit value”
- A second line shows up in the right panel under “Name” “Type” “Data”
- Right click on the new line under “Name” then select the “Rename” option
- Now type RendererCodeIntegrityEnabled in the box under “Name”
- Ensure that the TYPE has REG_DWORD and Data has 0x00000000(0). Leave them unchanged.
- It’s done. Now close all Chrome windows and then open a window
Another solution
If the first solution from Patrick DeGraba didn’t work for you, try this fix from another expert named simon.daixin simon.
- Go to the Start menu > Run > enter regedit and then open the regedit application
- Open “\HKEY_LOCAL_MACHINE\SOFTWARE\Policies\Google\Chrome.” If you could find only “\HKEY_LOCAL_MACHINE\SOFTWARE\Policies\Google” then create a folder named Chrome
- Now create a new item named “RendererCodeIntegrityEnabled” (DWORD 32) at the right side
- Here, set the value 0 to “RendererCodeIntegrityEnabled”
- Finally, restart Google Chrome. It should now work without any issues
These two solutions have worked for most of the affected users. Let us know in the comments if they worked for you.
Add Comment